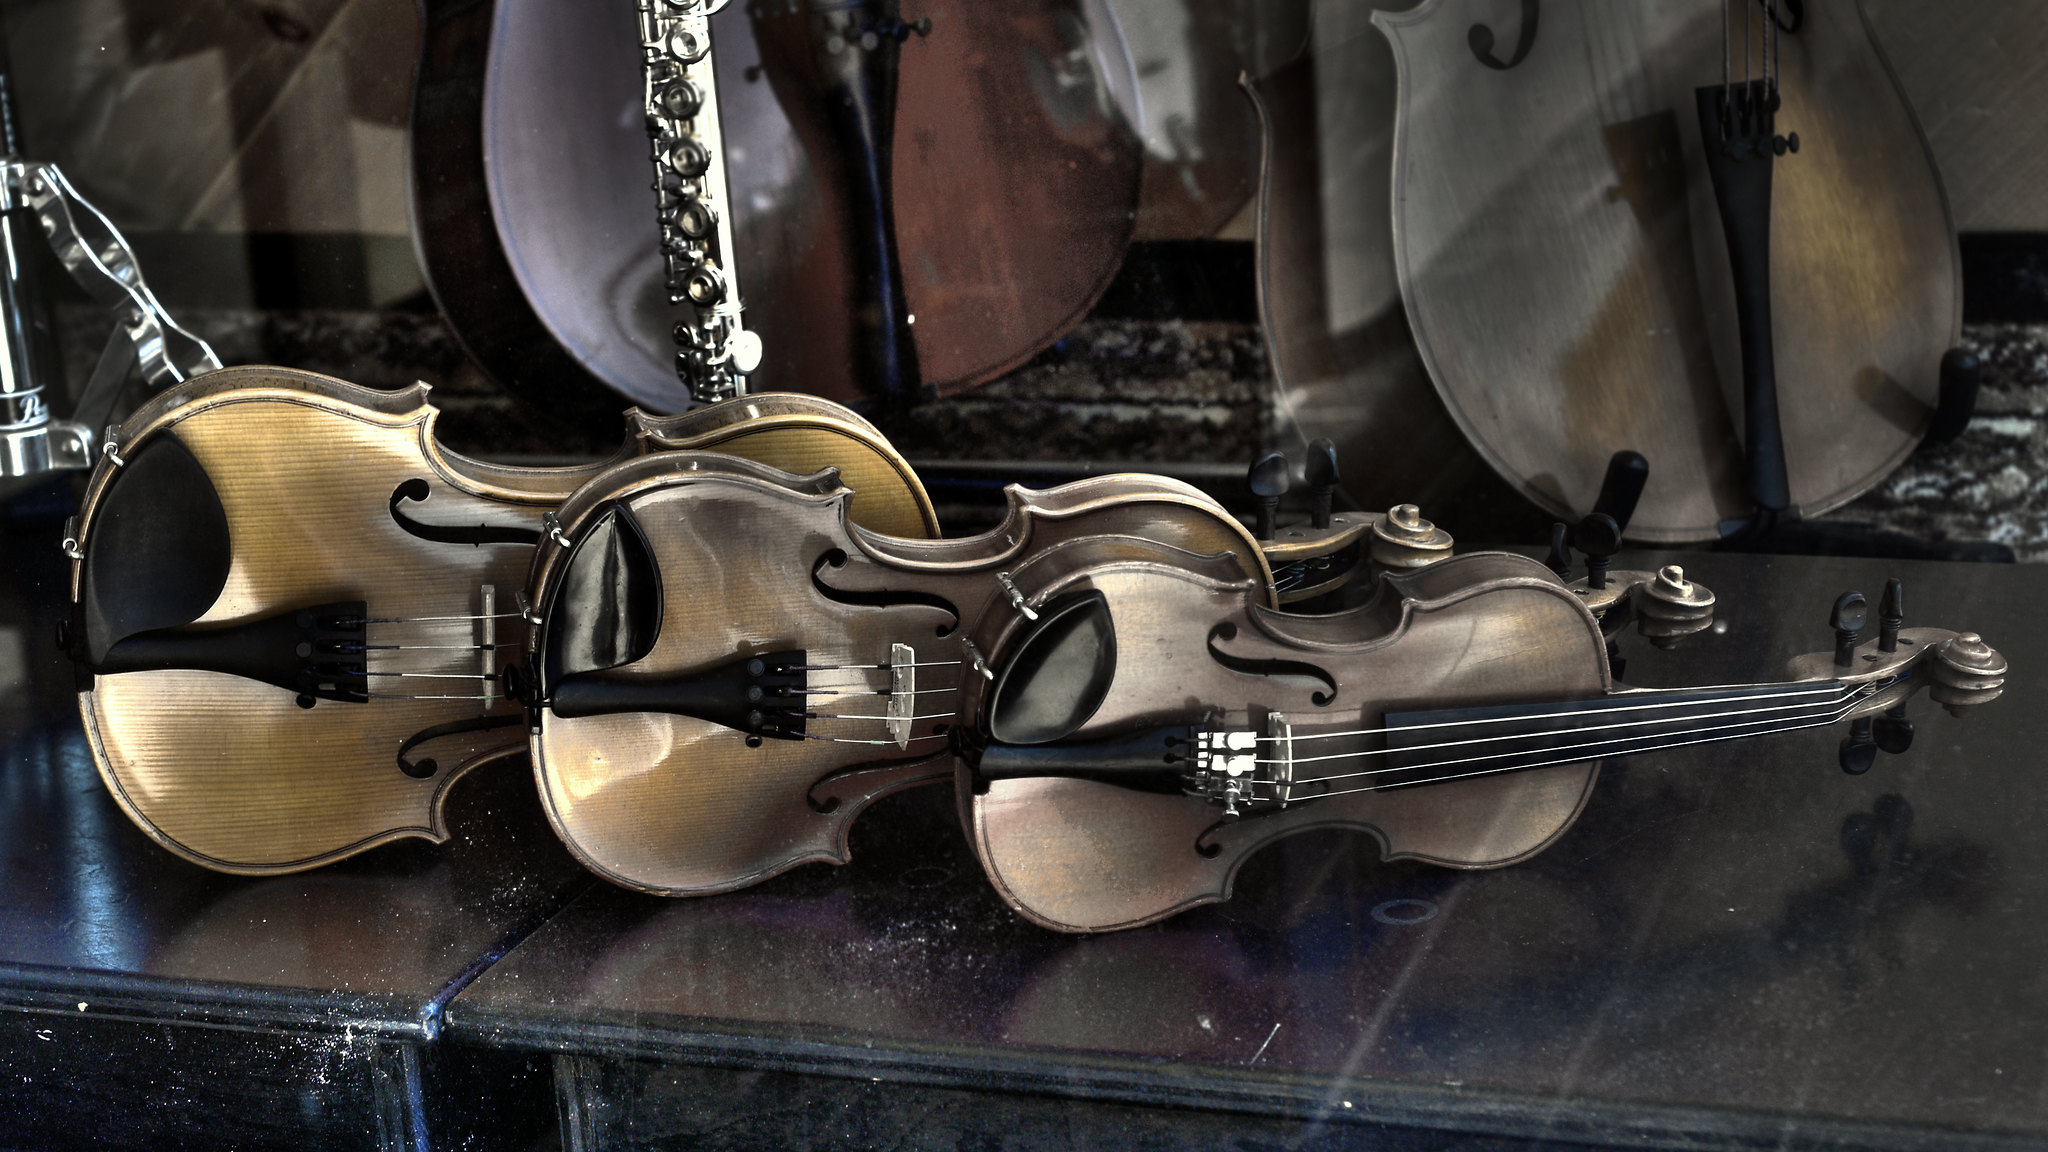
A violin bridge is an integral part of the instrument. Without it, a violin is just a shoebox with strings attached! Although it may appear humble, a violin bridge is one of the most important pieces that needs to be taken care of, shaped, and replaced periodically. We will discuss the important details of what makes a violin bridge so special.
What is a bridge?
A violin’s bridge is a simple piece of maple wood with feet that sits on top of the violin. It’s positioned several centimeters after the fingerboard ends, holding the strings above the fingerboard and guiding the strings to the tailpiece.
The bridge is an integral part of the violin because of the fact that it transmits the vibration of the strings to the body of the violin, allowing the sound to transform from vibrations to notes. Without a bridge, a violin would not work. Positionining the bridge accurately is important so that the violin’s tones are ringing and true to the instrument, not dull and muffled.
Material and Shaping
When considering purchasing a bridge, the wood’s grain should be obvious on a bridge. A good quality bridge should have a longer grain of wood on the front, or the side that faces the fingerboard. On the back, it should have a shorter grain.
A trained luthier may be necessary when dealing with violin bridges, as the bridge is a very sensitive part of the violin. Typically, bridges are made of maple wood. Maple is a fairly soft wood that lets the luthier shape the bridge to fit the violin. The bridge comes in a “blank” form, a boxy, too-big version of a bridge. The luthier will sand down and shape the blank so that it is customized to a violin’s belly as not all violins are shaped the exact same way.
The luthier will sand down the top of the blank, the sides of the blank, and the feet of the blank to make it exactly what the violin needs to sound beautiful. The bridge must fit perfectly because the tension of the strings is what keeps it in place: the bridge is never glued into place!
The luthier then must make sure that the bridge’s height is correct. The height of the strings above the fingerboard for E string must be very close or exactly 3mm and 5mm above the G string. This is important because a badly shaped bridge causes impossible string crossings and hand discomfort.
In the next step, the luthier sands down the front of the bridge to thin out the bulk of the blank. The back of the bridge remains at a right angle. The final touches are to thin out the ankles of the bridge as well as the “kidneys” or what appear to be the decorative holes in the bridge. The holes are actually designed to reduce the bulk of the remaining wood! The less wood that the bridge possesses, the easier the vibrations are to transfer to the main body of the violin. Too much wood causes a muffled sound for the violin.
Lastly, shallow grooves should be carved into the bridge to make sure that the strings are guided to the correct place. These grooves should be shallow and never deep. This is to make sure that there is ample vibration and sound is again not muffled.
A misformed bridge can seriously alter the sound of an instrument! Also, if a bridge is shaped badly, it can break or fall out of place, scaring a violinist silly. Imagine playing for an audience and having your bridge suddenly become matchsticks!
Make sure you have a trained professional either teach you how to shape a bridge or simply do the work for you. Typically the cost is fairly minimal and most luthiers can shape a bridge for you in very short order.
Troubleshooting
Sometimes a bridge will fall out of place. This happens when strings are loosened or the violin has been badly jarred. Sometimes people inherit instruments that are ery and the bridges have gone missing. Whatever the case, a luthier can help you out in this area too.
A violin that is very old may have multiple “footprints” or where a bridge has been in the past. If this is the case for you, make sure you bring your instrument to a luthier and don’t guess: the specialist can tell you where the bridge ought to be placed for the optimal sound.
If your violin isn’t old and you can see a set of footprints, it’s safe to say that the person who cared for your instrument (perhaps it was you!) knew where to put the bridge for the best sound. Place the bridge facing the correct direction, carefully replace the strings into the grooves, tighten the strings, and resume playing with your replaced bridge. Remember, the bridge is free-standing. The strings must be tightened carefully to avoid the bridge slipping out from under the strings.
Bridges may warp after a long period of playing. When you notice that a bridge is no longer straight, it’s time to replace it. A warped bridge will not give your violin the sound you desire. The grooves on the bridge may also become too deep for the strings. After a long time, the strings cut into the maple wood. There are ways to remedy this problem before replacing your bridge. Small veneers, like a bandaid, is a good fix for deep grooves that should be raised ever so slightly. In fact, some bridges come with pre-set veneers to ensure that the very small strings, like E, don’t cut too sharply into the bridge. Handy!
Famous and Fantastic Bridge Brands
There are dozens of bridges to choose from, and you can drop serious coin on some where others are very economical. Some companies boast pre-fitted bridges where others simply give you a blank and assume you will do the rest on your own. There are even companies who can make your acoustic instrument into electric! Here are a few great options for beginners and veterans alike.
Glaesel's Self-Adjusting Bridge
Glaesel’s Self-Adjusting Bridge has feet that adjust to the body of the violin, eliminating the need for further adjustment to a blank. It's far more expensive than buying a blank, but the convenience is appealing to many violinists and stringed instrument players alike. This bridge is perhaps the most famous for its versatility and accessible nature.
Aubert Bridges
These folks make a variety of bridges, and that includes bridges for other stringed instruments as well. The violin bridges that Aubert makes are maple, seasoned over several to many years, and they are treated with a "secret recipe" of natural ingredients that have been "passed from generation to generation." Whatever they are doing appears to be working: Aubert bridges are extremely fine and are found on violins all over the world.
Milo Stamm
These bridges are high quality German manufactured pieces. Milo Stamm source their maple from Bosnia and the bridges are reportedly extremely high grade. There are a few options for carving the bridge thanks to a high or low heart center of the bridge. The pricetag on these bridges is higher than those you can find elsewhere. However, diehard fans swear by the tone quality achieved by having one of these special bridges.
Despiau Chevalets
This company takes a page from Milo Stamm's book and sources their maple bridges from the 300 year old trees in Bosnia-Herzegovina. Despiau Chevalets makes beautiful bridges are sought after and found everywhere musical instruments are played.
Teller Deluxe Bridges
These bridges are made by German artisans whose bridges have a gorgeous grain and are handmade, just like they were made in the 1600s. They're an affordable option without sacrificing any quality you seek. They source their wood from Bosnia-Herzegovina as well, and they age their bridges from 5-30 years. Their three stamps make it simple to determine which level you desire. The Teller Germany stamp is for students. These bridges are aged 5 years. The Josef Teller 1891 Germany stamp denotes soloist or concert instruments. These bridges are seasoned for a minimum of 10 years. The Teller Royal De Luxe bridge stamp is a sign of rarity. These bridges are seasoned for no less than 10 years and are rarely released.
LR Baggs Violin Pickup
You can even find bridges that are fitted with an electic system that allow you to make your acoustic instrument into an electric one! LR Baggs has a pickup system that is anchored to the bridge. I have personally used this system, and I have found that it is extremely user-friendly, non-invasive to my acoustic instrument, and easy to remove if the need arises. The sound quality was very high: I didn't have to sacrifice the tone of my instrument to have an amplified sound. I also didn't have to fuss with microphones when I could simply plug my acoustic violin into a 1/4 inch jack and be as loud as necessary. Lastly, the quality was extremely high: I had my pickup on my instrument for 10 years with absolutely no issues. Slick!
Barcus Berry Violin Pickups
These work a lot like LR Baggs, except that you can take some of them on and off more easily. Barcus Berry brags that a simple clip to the bridge allows a transducer, connected with a cable, to an output jack. You'd get the best of both worlds: an electric AND acoustic instrument without the tricky install of a traditional acoustic pickup. The only drawback is a higher pricetag than some other options.
Summary
Bridges are an integral part of the violin. You do not have to drop a lot of money to have a nicely shaped bridge that will serve your purposes. Some people may insist that an expensive bridge sounds better, but in the end, placement, shape and quality all come together to ensure that your violin is singing its notes in the best way possible.


